Graham brought along some of his fantastic ECW collection for a game at Writtle today - Futtock's Mill was the game, not one you will find in any history book, I hasten to add !
Graham and I were the Royalist commanders - I had the cavalry on our left wing, Graham the infantry in centre and right wing.
Steve C and Ian R took the roles of the Parliamentarian commanders.
Royalist Brigade Commander stand

Royalist Army Commander stand

Another Brigade Commander - this one a Parliamentarian

as is this chap

The famous Futtock's Mill - objective for both armies

Start lines - the Royalists are in the foreground

View from the other end, Royalists on the right

I had two brigades of cavalry - this one

and this one

opposite me, Steve has a force of cavalry supported by one gun

Graham's Kings Lifeguard of Foote advance

Indeed, Graham's infantry "got a lick on" and rapidly approached the Mill and surroundings

the two Royalist guns were placed with a line of fire right of the Mill.

Here we see the Royalist centre brigade advancing to the hedge line

Bird's eye view of the Mill as the Royalists arrive on the river bank

and they swiftly cross over supported by the guns

so the Mill is firmly in Royalist control already.

Belatedly, Ian's Foote advance towards the Mill - he had failed command rolls earlier.

The Parliamentarian commander is thinking of sending their centre cavalry brigade towards their right as we have all our cavalry amassed over on that wing.

His Dragoons have dismounted and entered the marsh far left of the Parliamentarian lines

Now we see Graham has sent his infantry across the hedges to threaten the advanced Parliamentarian foot.

Command change ! The Parliamentarian cavalry in there centre face about and head for our infantry beside the Mill.

Whilst all this is going on, the cavalry out on the wing are having a right old "ding dong"

There is charge and counter charge and the battle swings back and forth - a Royalist unit broke but in the next clash a Parliamentarian one trying to find a way out ends up breaking from the field

Battle lines approach in the centre

Both sides cavalry commanders are trying to get the upper hand as gaps appear
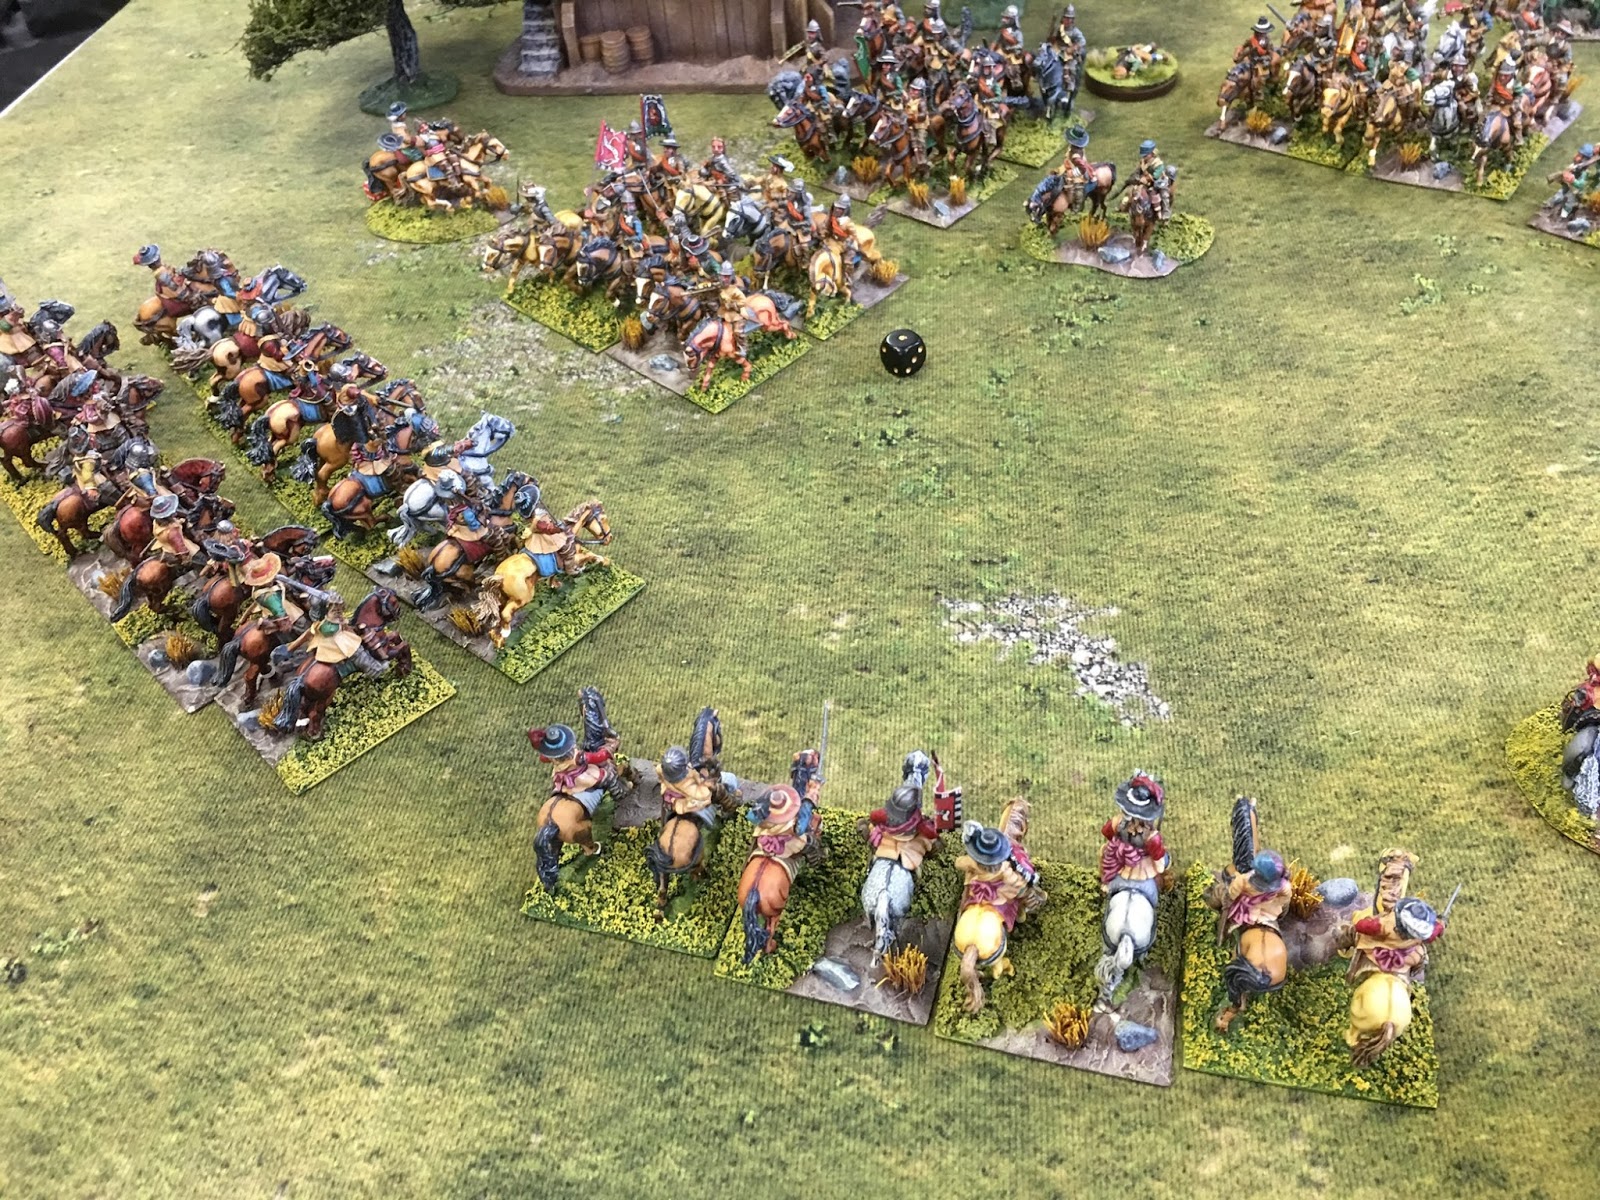
but Royalist weight of numbers finally tell

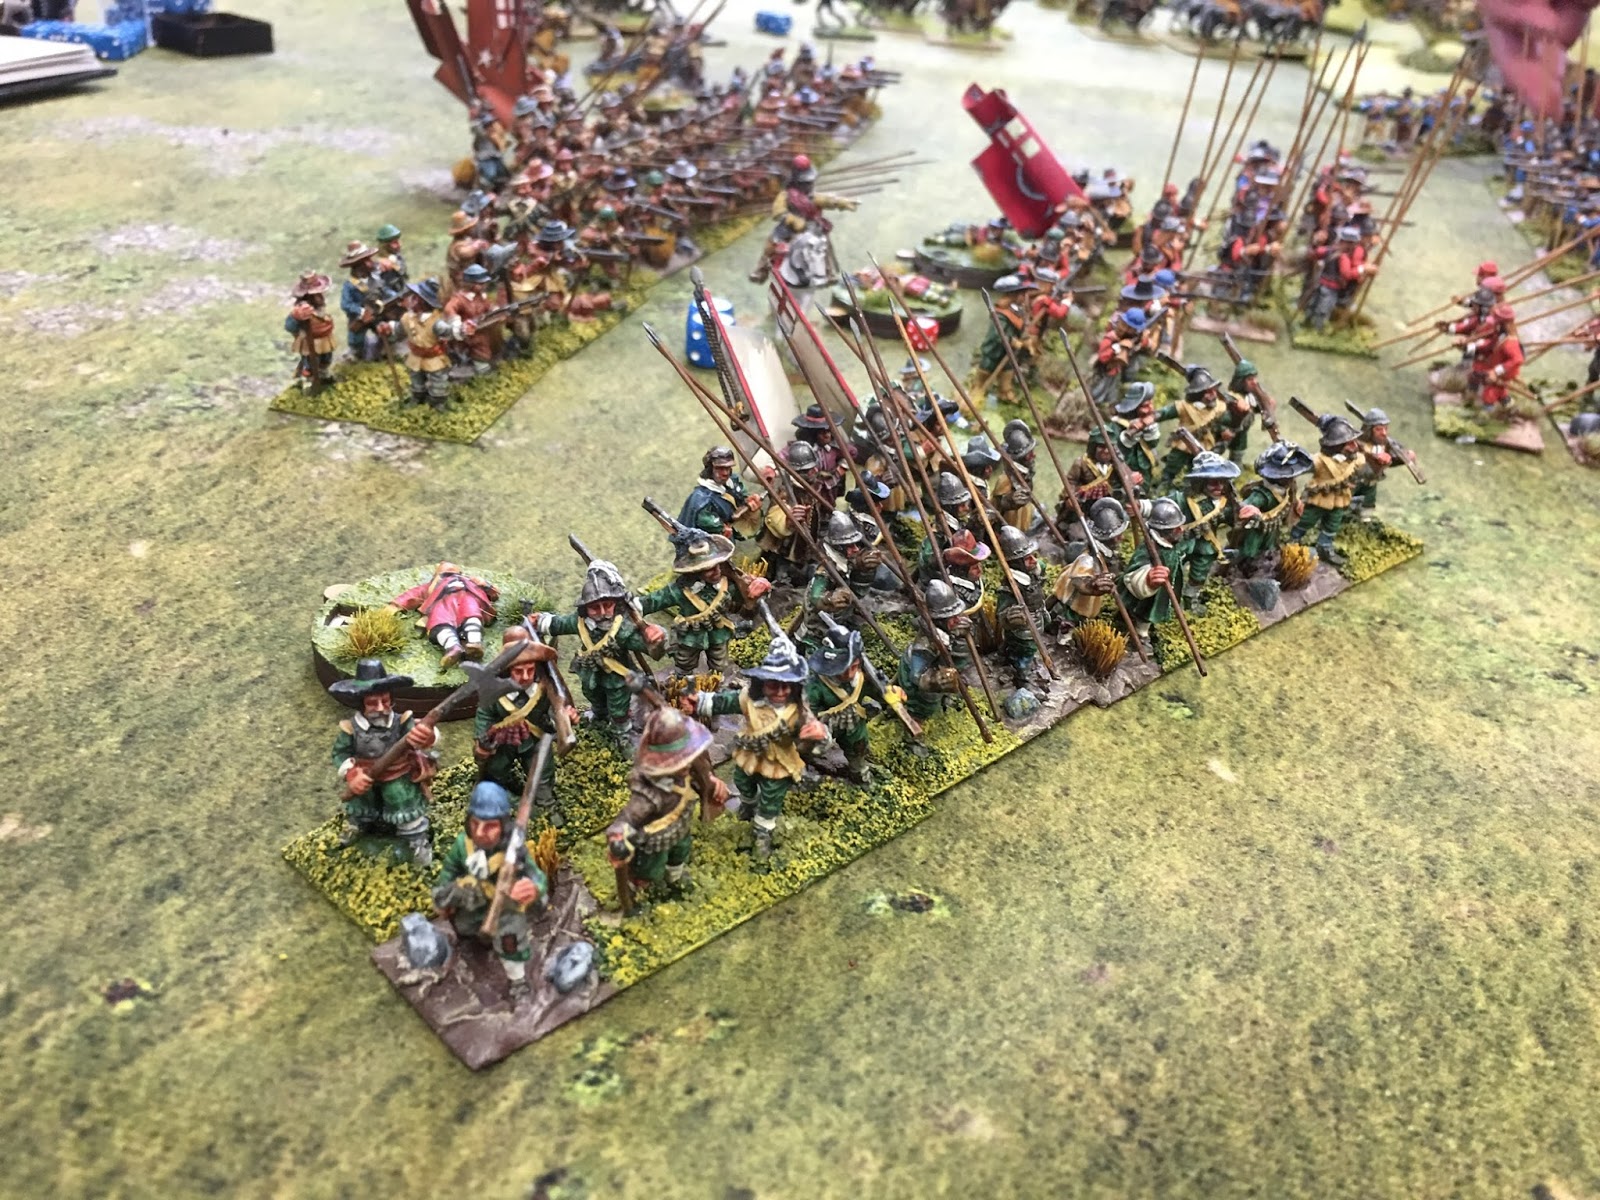
as Graham's pikemen surge into the assault

supported by Prince Rupert's regiment

This Parliamentarian cavalry unit is now unsupported

their sister brigade failing to follow up

Crunch - push of pike !

Across the board, Ian's troops are slowly closing on the Mill - his musketeers had amazing fortune firing at the defenders of the Mill, several bullets penetrating the walls to hit the unit inside.

The Royalist cavalry rally for yet another charge

The enemy are disordered after their retreat and their brigade is broken.

Steve's Green Coats pour fire on one of my cavalry brigades, causing them some confusion
Behind them, the Parliamentarian commander tries to steady his lines as the King's regiment threaten them

The Parliamentarian centre cavalry brigade advances in support of their attack against the Mill

Not that the regiments over here give a care, having their own little war going on.

Prepare to receive horse !

The other side of the Mill seems quiet by comparison - the Royalists firmly in control.

The clash of the Red Coats continues in the centre

Now Ian's men get into combat around the Mill

but the Royalists refuse to buckle

A concerted effort by these Parliamentarian foot finds the Mill a difficult nut to crack too

The casualty markers show how the Royalist infantry attacks have had an effect

a sleeve of Shotte has retreated from the Parliamentarian line

A tremendous battle goes on around the Mill.

But despite all thats thrown at them, the Royalists keep possession of the Mill.
The Parliamentarian attack runs out of steam and with casualties high and their right wing exposed by the rout of the cavalry, the battle is ended.
I've just realised - not a single blunder was rolled by either side in this game - quite a rarity ! So no ridiculous events this time out.
Amazing turn out at the club bearing in mind the amount of snow we have had in the last couple of days, seven or more games going on I think - well done to all for making the effort !