Today, we had encouraged Richard Clarke of Too Fat Lardies fame to row across from Lard Island to come and tell us all about the new Sharp Practice rules which were released on St. George's Day.
Some of the more enlightened amongst us have already invested in a copy but the word of the Lard needs to be spread further afield, hence the pilgrimage to Writtle.
Here we see Rich and the gang setting up a suitable table

Its going to be American War of Independence and here's the American force - three groups of skirmishers, two groups of militia and three of continentals

The British opposition consists of a group of Hessian Jagers, a group of Queen's Rangers and three groups of Regulars

A river bisects the table with just two crossings - a bridge and a ford.

This splendid dwelling sits near the ford

This is the road the Americans need to take to get there

The American roster sheet (I was an American today !)

Rich had thoughtfully prepared this idiots guide to the use of the flag cards (or tokens)

Some keen skirmishers are deployed already

Here the Lord of Lard explains the scenario to the assembled throng

Apparently, the British are coming to arrest a badly wounded Rebel General who is laid up in one of the houses and the local boys have been warned.

Moving rapidly, Queen's Rangers occupy the house by the ford

as Hessian skirmishers head into the woods in the centre

This is an overview from back of the rebel position, as troops deploy to stop the British - the injured general is in the house bottom left.

The Americans have taken up positions along the river bank


The main body of Brits appear with the British commander


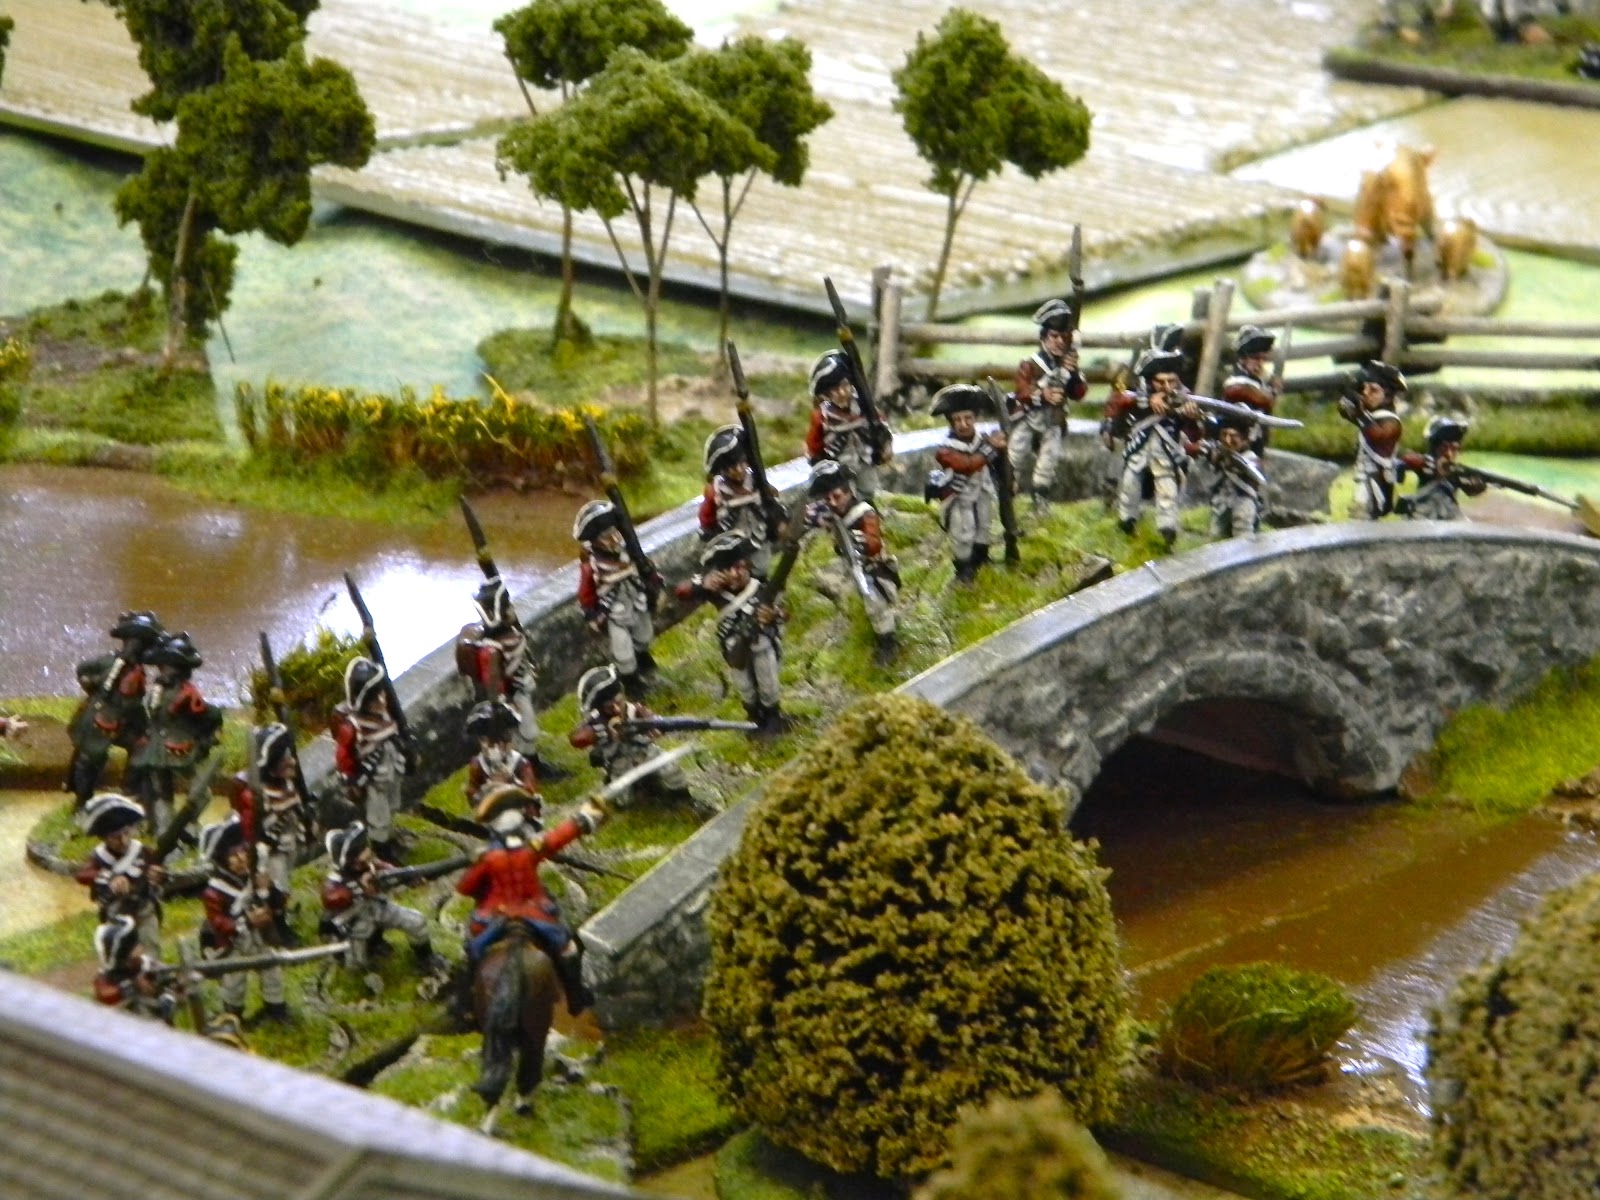
American militiamen guard the bridge

Hessian grenadiers now appear beside the church

as their Jager colleagues fire from the woods ahead

The Americans are also covering the ford by now but taking fire from the Queen's Rangers


The American commander decides to march his best troops towards the ford having heard gun fire

The Americans in the centre trade fire with the Jagers

"Light Bobs" move up to support the Queen's Rangers as the Hessian grenadiers line out and move through the woods


For now, the situation is contained by the Americans

and plenty of fire given across the ford

The Hessian Grenadiers emerge on the wooded hill and prepare to give fire

After an unlucky event, the Continentals at the ford get wet powder so an NCO and escort are sent to get some fresh powder

Until they find some, these troops are firing at half effect


Not something that bothers the Hessians !

They are causing casualties with their controlled volleys

The British regulars have reached the river line over on the left and their volleys have forced back the American defenders

The same is now true of the centre - everyone is trying to get away from the vicious British volleys


The rail fencing does not provide much cover

At least the American right is looking strong

The Jagers have retreated to reform by the church

Luckily, the foraging team return with fresh powder - it was at the general's house.

Now the British regulars are ordered forwards towards the bridge


Hearing of this threat, the American commander prepares to move his troops to handle this


They are on the bridge and the original American position overrun !

Back to defend the general's house !


Despite the continued presence of the enemy light troops

The American commander issues the order to shift towards the bridge instead

As these "lobster backs" are going to be difficult to beat
and the militia are crumbling

One group that was moving to guard the general's house are ordered back to cover the ford

The problems of command - where best to deploy ?

Here we can see the Continentals on the move away from the ford

The Americans are losing the exchange of fire with the British regulars

The way to the ford lays open across the battlefield

The Continentals have formed line and try to hit back at the British regulars

assisted by the militia which have been pulled back into order by the commander

but now the Hessian grenadiers add their firepower to that of the British


The "light bobs' pick this moment to move forward to the ford

and the Queen's Rangers cross the road and fire into the flank of the Continentals across the river

The American skirmishers are forced back from the ford by an aggressive charge by the British lights

American morale is plummeting and troops beginning to break

At this point, the American commander knows the game is up, as force morale approaches zero - the men are running and nothing can stop the British arresting their prize.
A great introduction to the new rules by Rich and as a small thank you, we took him to the pub across the green before he got the oars out for the boat trip home !
Sharp Practice 2 is great ! This version is a step change from what was already a thoroughly enjoyable set of rules - highly recommended.
Ooooh! The Lord of Lard himself in flesh and bones!!!
ReplyDeleteLucky bastards... XD
Very nice terrain and minis
Looks like you played a very funny game
We are in our steep learning curve of the rules, having a lot fo subtke details that you tend to miss during the first games
Wonderfull battle report and pictures! And lots of excellent painted figures!
ReplyDeleteGreetings
Peter
Well done Steve excellent battle report! Pity to miss this but I now expect you to be fully up to date with the rules.
ReplyDeleteWell done Steve excellent battle report! Pity to miss this but I now expect you to be fully up to date with the rules.
ReplyDelete